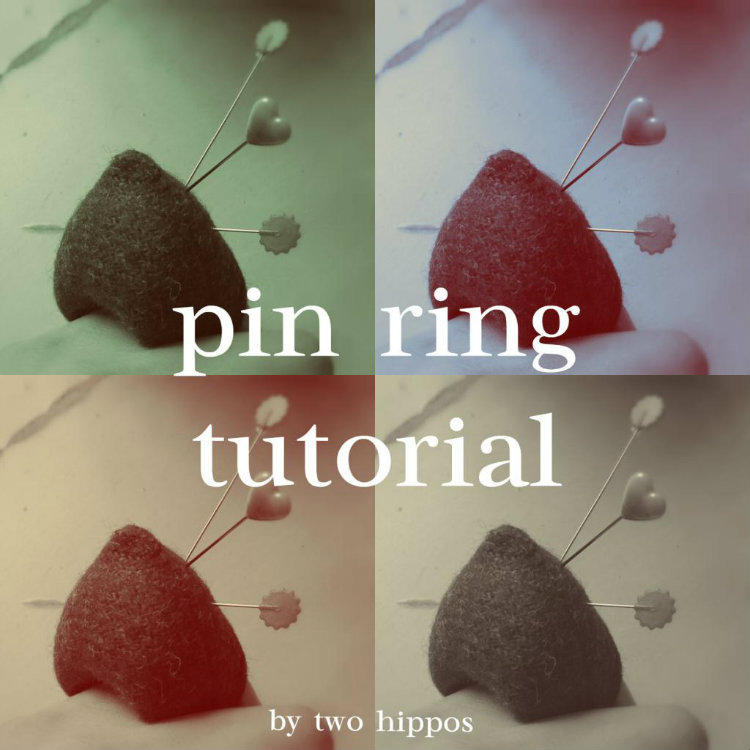
Last months challenge was to make a pin cushion to swap at the January meet up. I dithered as normal and wanted to make up something different, a small addition to the patch square pincushion I had made. I decided a ring was my favourite – here’s how I made mine.
What you will require :
 matching thread and some toy filling.
1. Cut 1 4inch square of fabric (here I have used an off cut of British tweed from Fabrics Galore).
 2. Fold the square in half and pin.
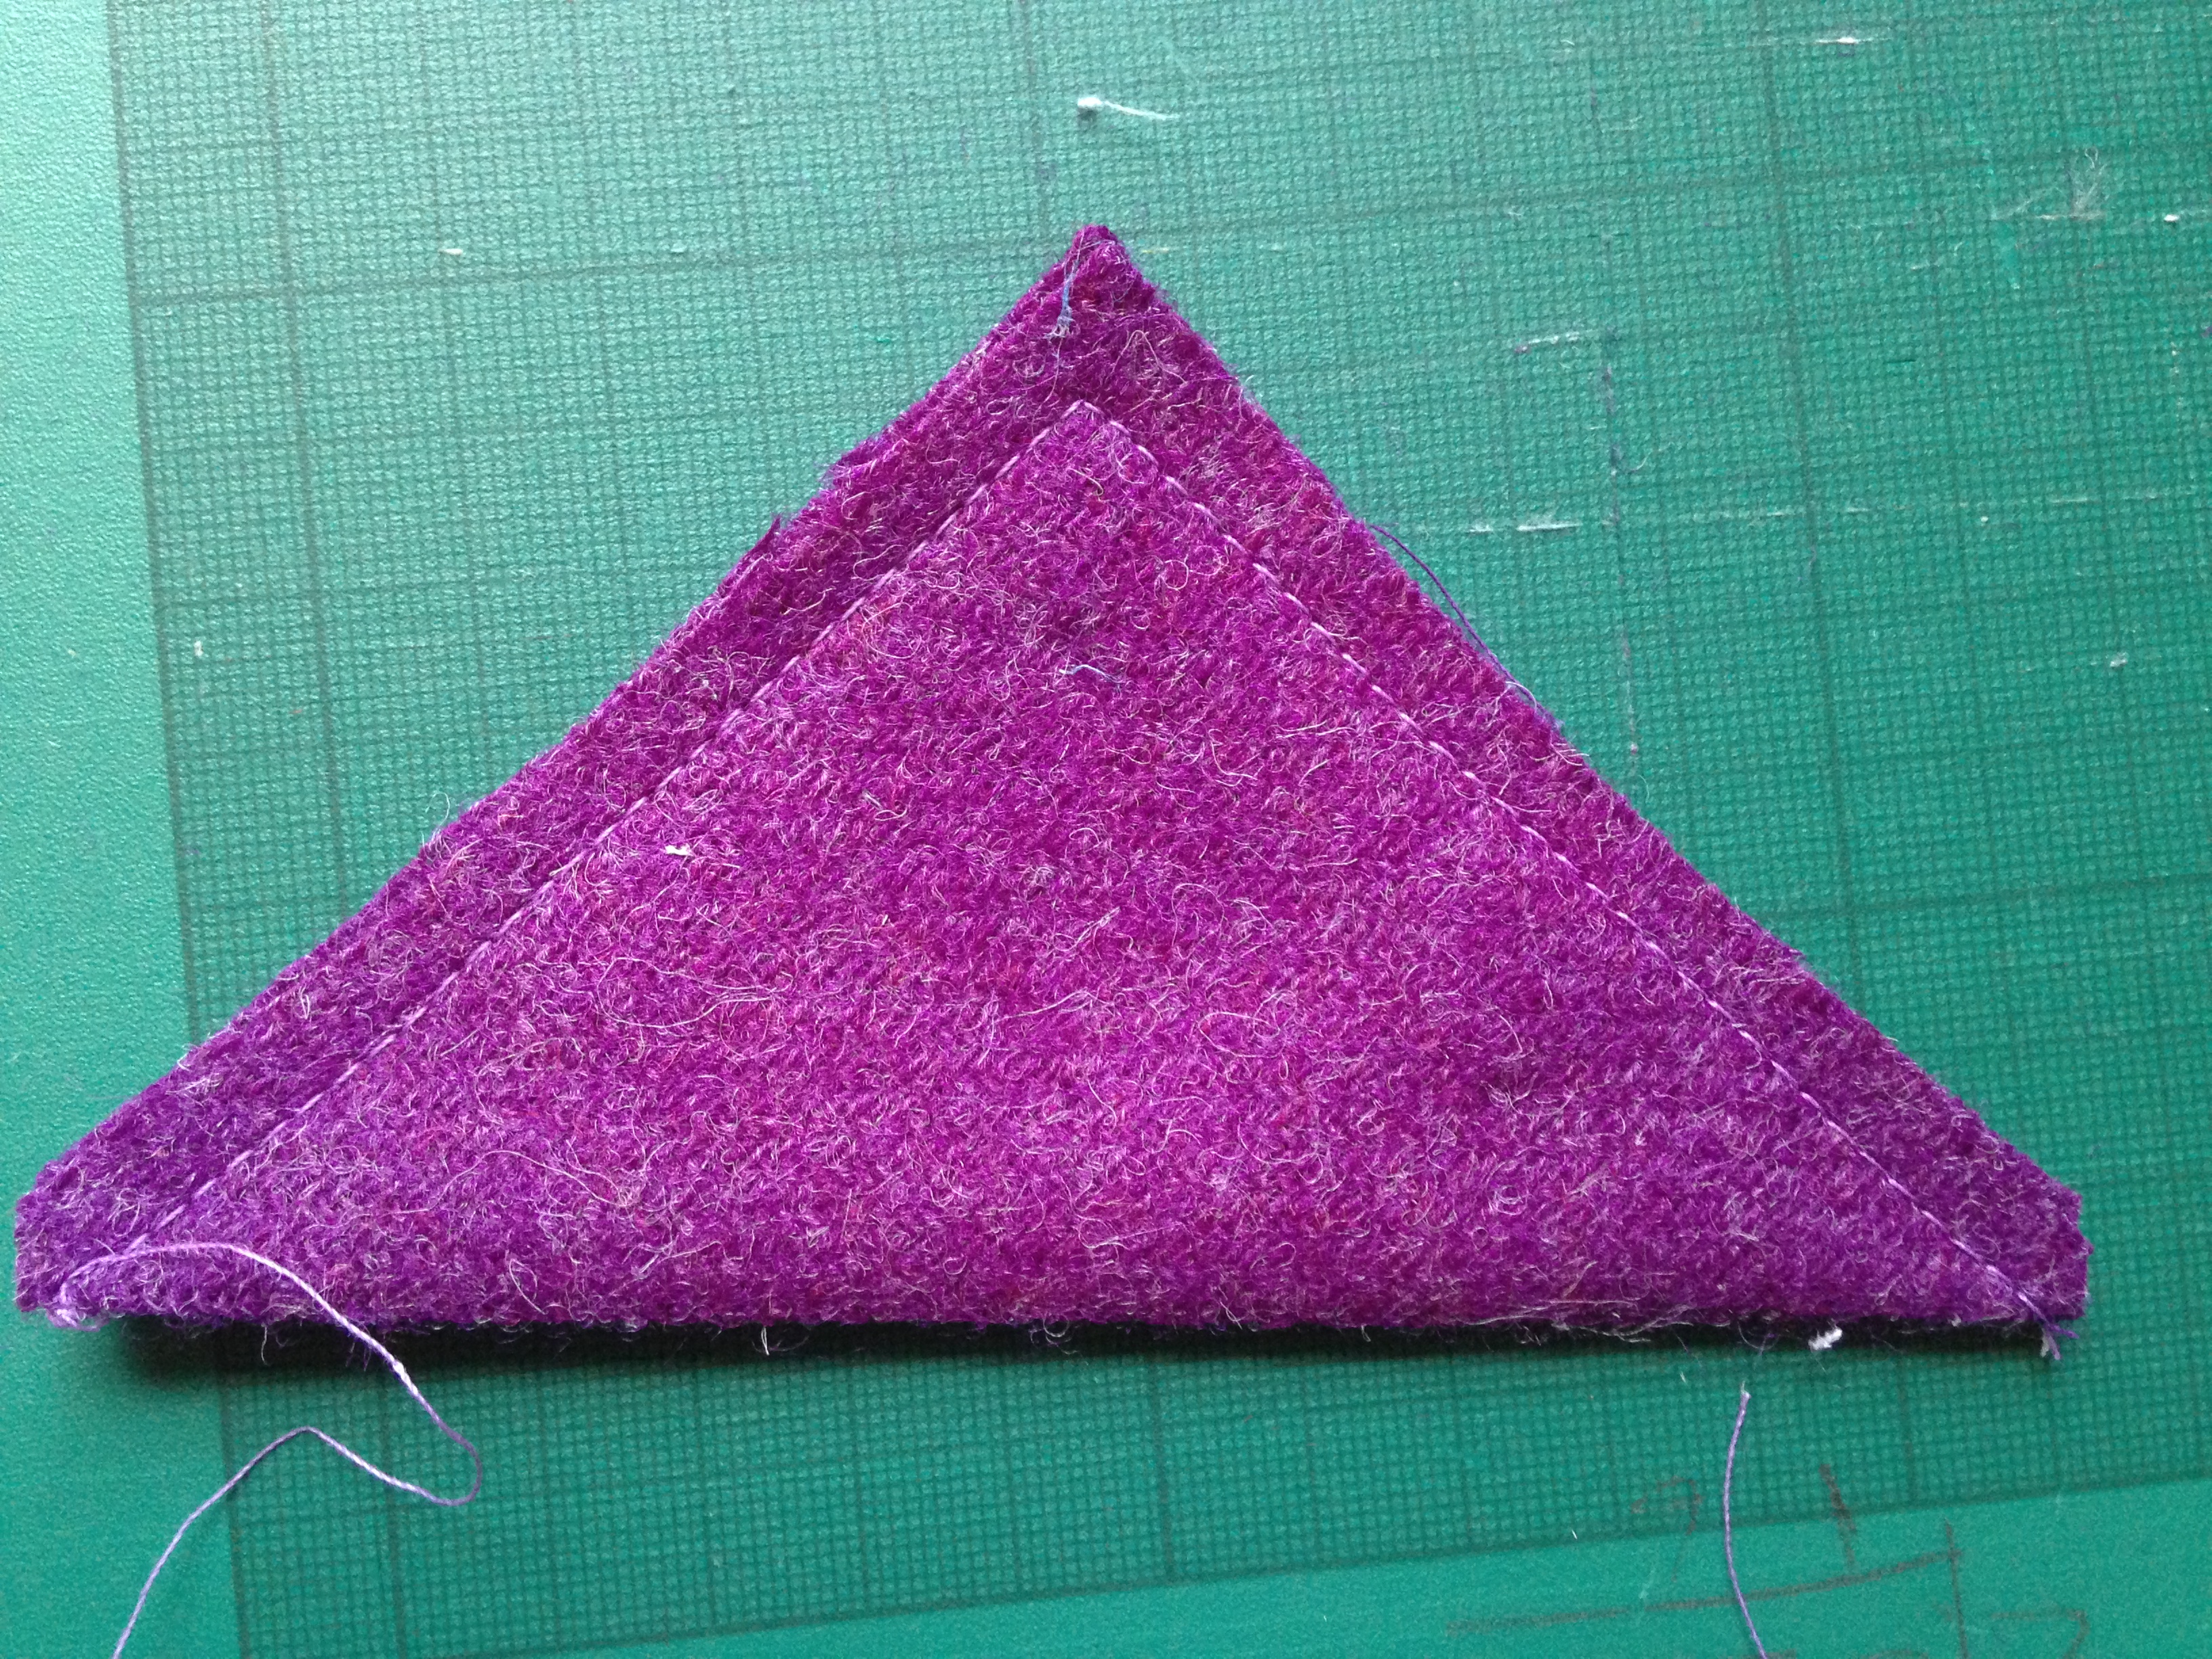 3. Stitch using a 1/4 inch seam allowance around the 2 open edges.
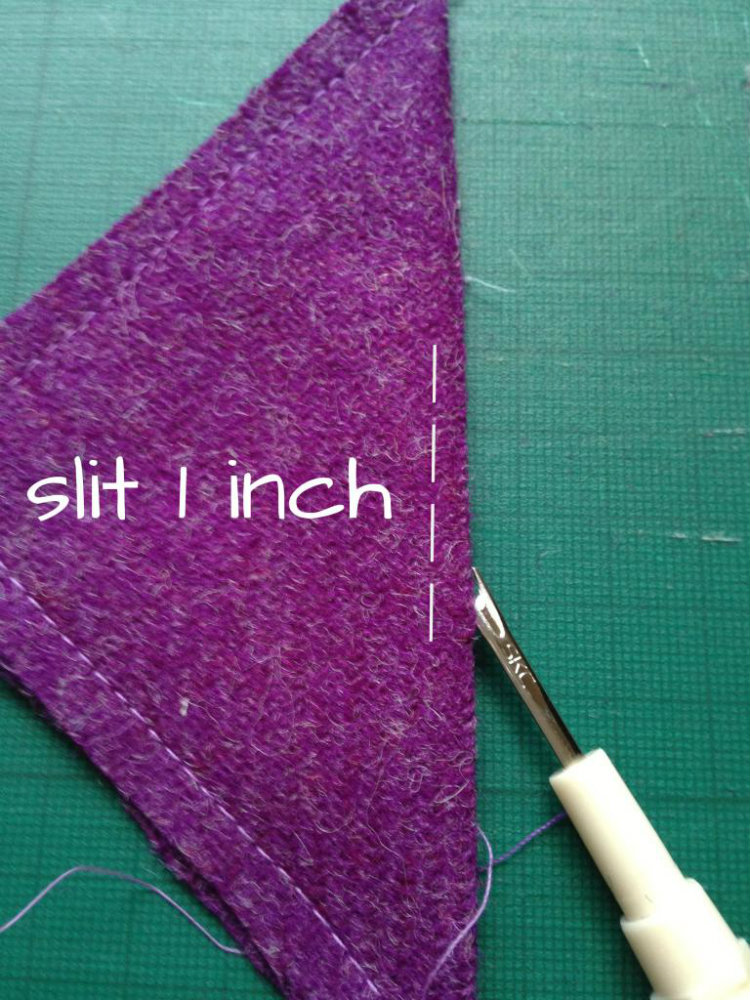 4. Make a 1 inch slit on the folded edge. I also sniped off the pointed seam allowance, as below. Turn through and be careful when pushing through the points.
 5. Yours should look a little like mine below, if made in quilting cotton the points are a lot sharper.
 6. Start to fill your triangle, I placed lots of stuffing in the central part – do not fill the edges as these are going to form the ring part of your Pin Ring.
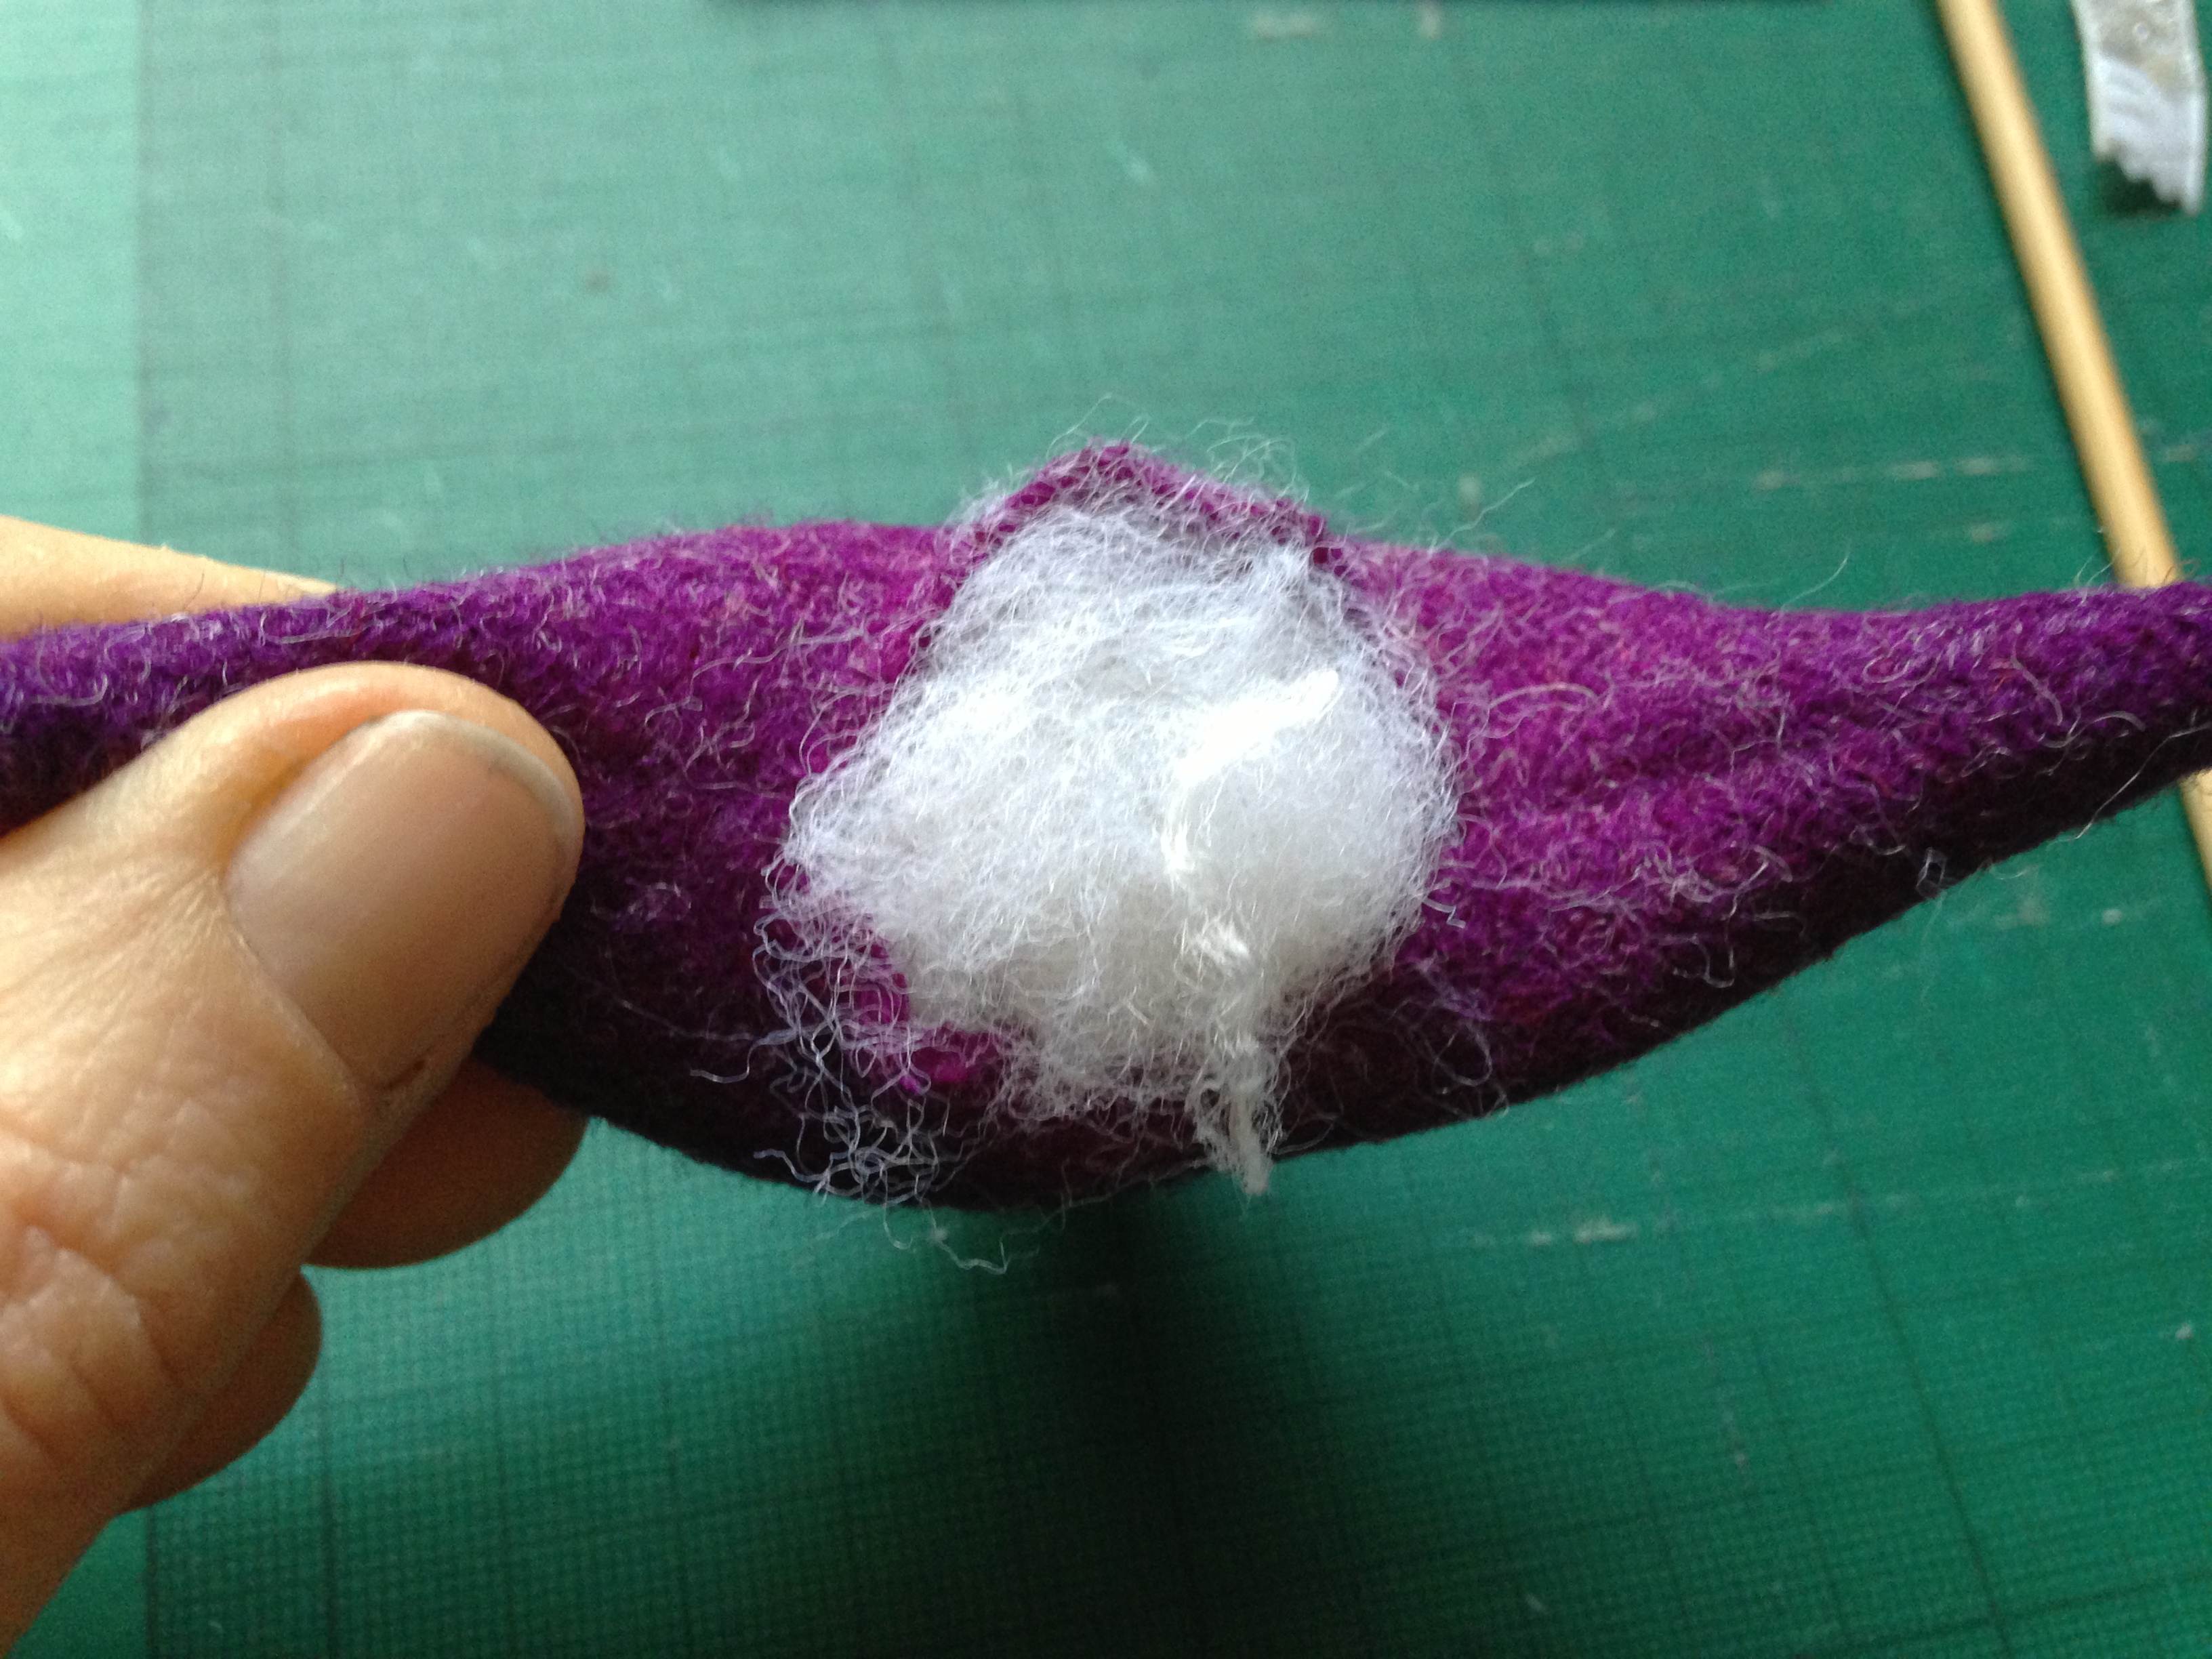 7. Whip stitch closed the opening.
 9. To form the ring, fold the two ‘wings’ around your finger. I then placed a long pin through to secure the wrapped ‘wings’.
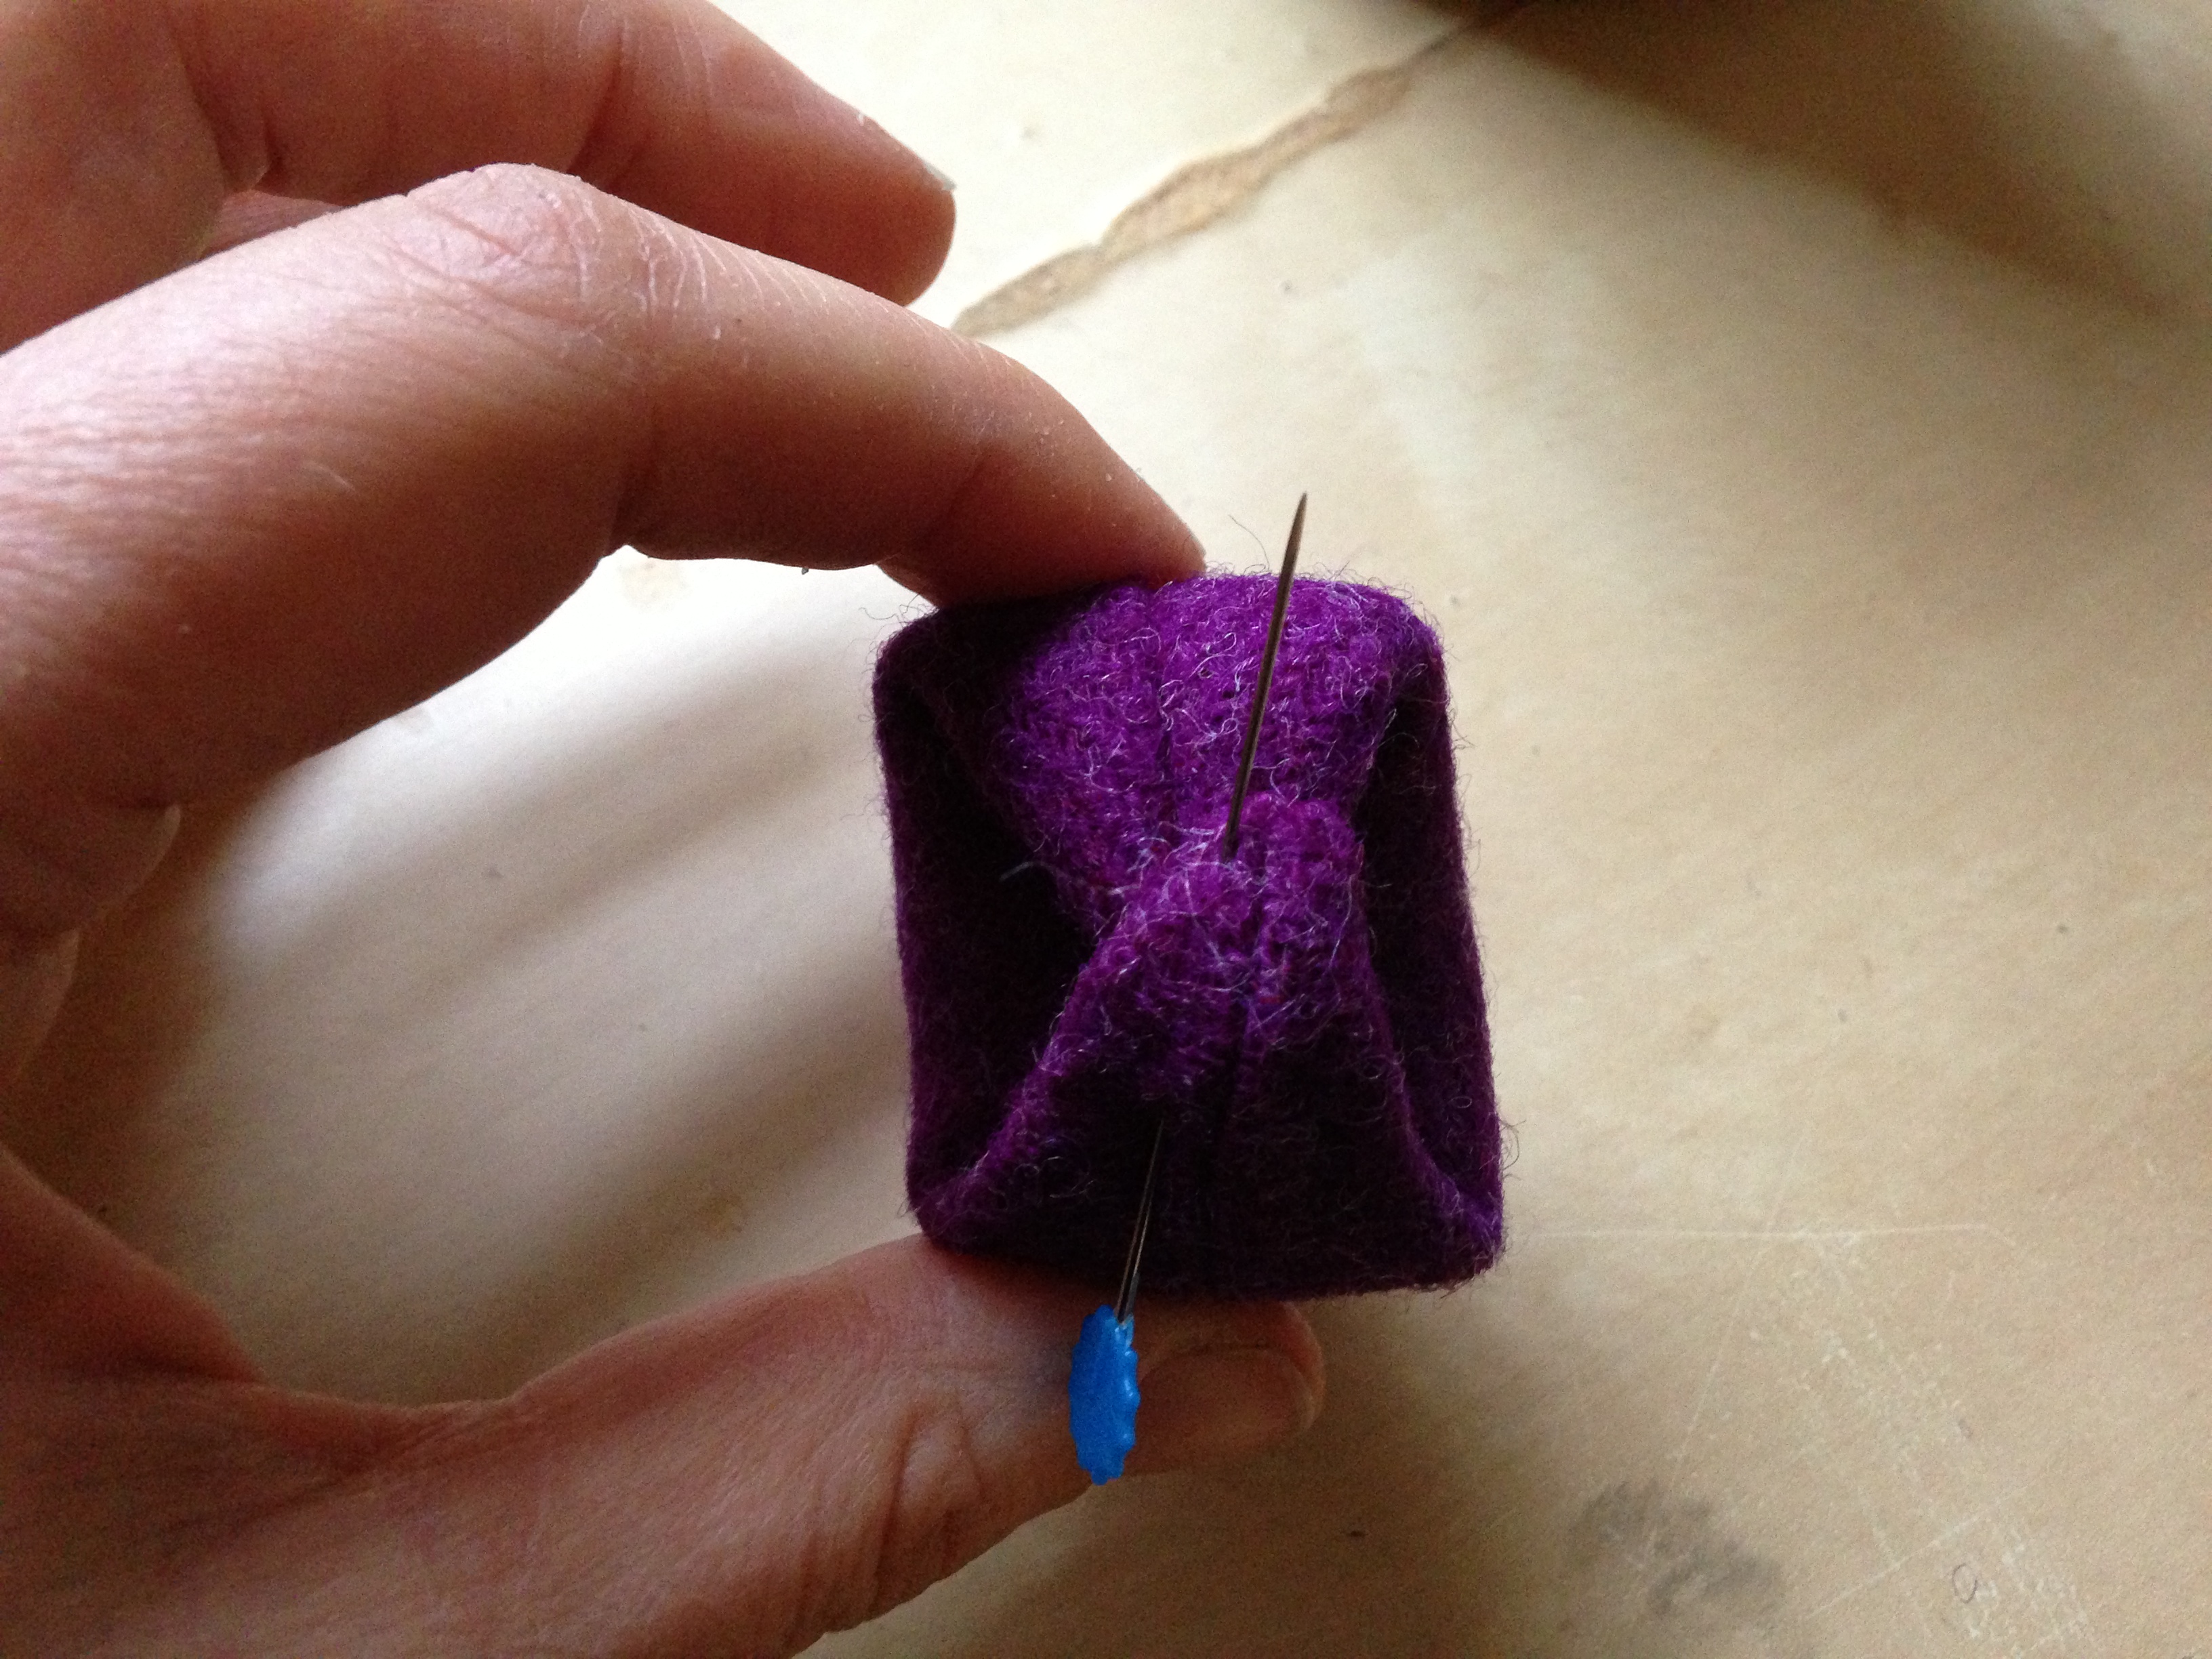 10. Stitch in place with a matching thread and you will have a fab new piece of sewing kit or jewellery!
 I did play with shapes and also made a rounded version, in the tweed it worked brilliantly. Have fun and do show me your pin rings if you make one. They are addictive, here’s a hand full in shades of Kona Solids.


Leave a Reply