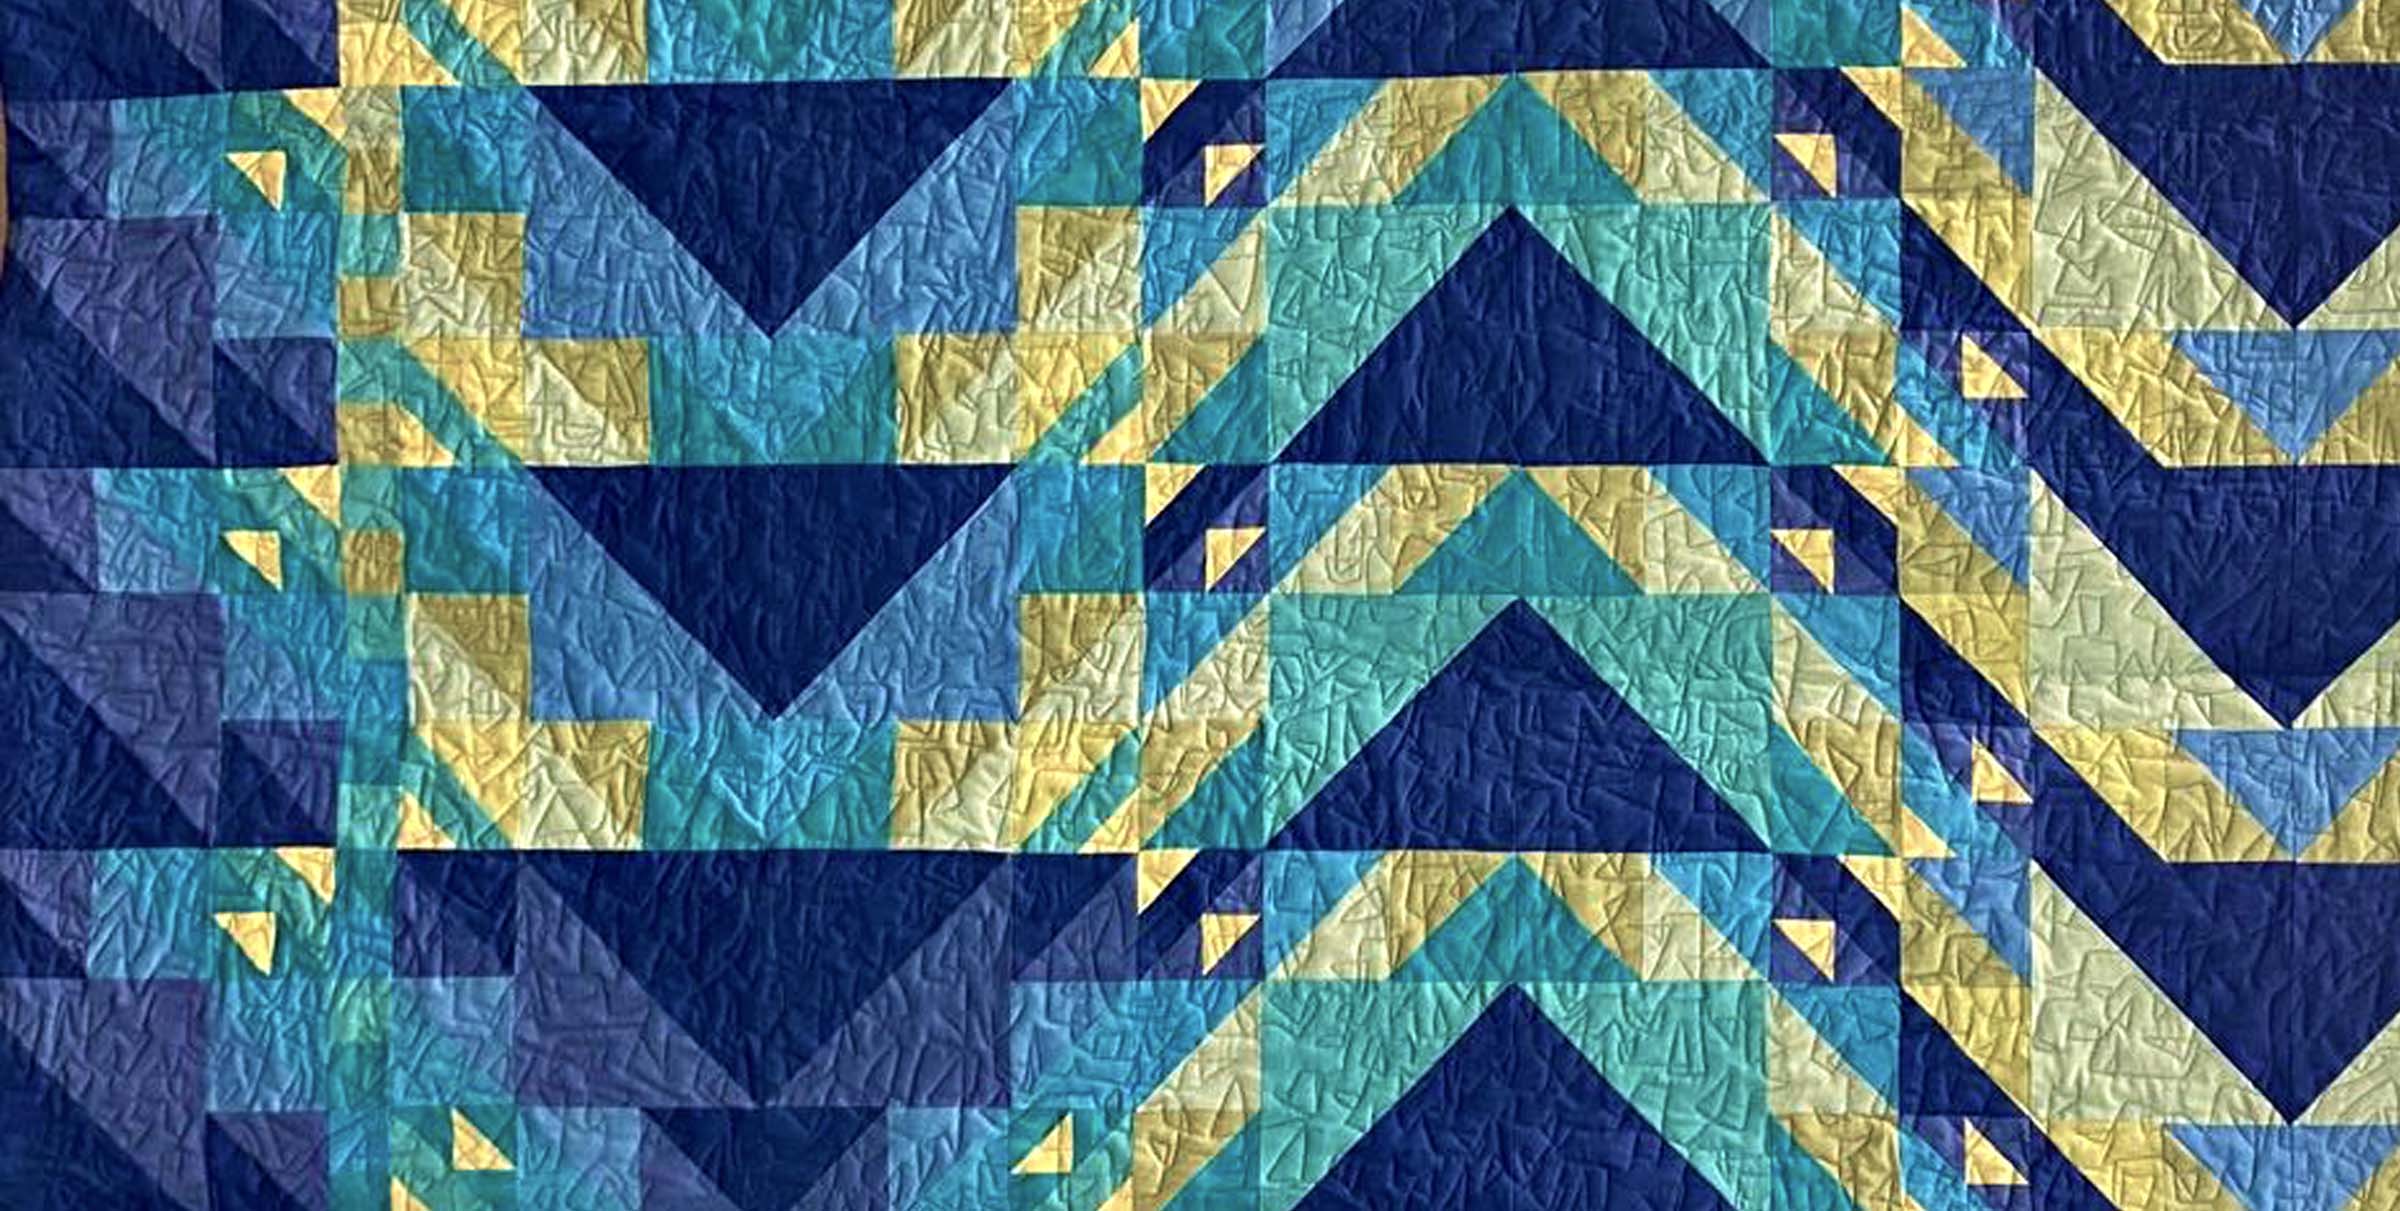
Charlotte from Displacement Activity wrote this terrific tutorial – thinking these would make great Christmas gifts….
Scrappy coasters are my go-to gift. They come together quickly, you can make them to co-ordinate with any colour scheme and they help nibble away at the scrap mountain, which is always a good thing. I was making a set today (for a commission, excitingly) and thought I would put together a tutorial. They are not difficult to make, but there are a few little tips that make them even easier. So here we go – my first tutorial. I hope it all makes sense!
First gather your scraps. You can use even the tiniest pieces – some of mine were only an inch wide. You can iron them if you want, but I don’t usually bother.
Sew scraps together until the piece is bigger than 5 inches square. There is no need to iron as you go along – just hold the seams open as you stitch.
Finish one side of your piece with a long strip of fabric so that you have one edge that has no seam – it makes things easier later. Press seams open and trim the piece to 5 inches square.
Cut a 5 inch square of backing fabric and a 4.5 inch square piece of fusible batting. Centre the batting on the backing piece and fuse, following the instructions.
Place the pieced front and fused backing/batting right sides together and sew along three sides using the edge of the batting as a guide. This is where you want to make sure that the side you leave open is the one that has no seam on the front piece.
When you sew the pieces together stitch all the way along to the end of each side and then fold the seam allowance over when you turn the corner.
When you start stitching the next edge sew over the folded seam allowance, through all four layers of fabric. This helps to make the coaster really square and means that you don’t need to clip the corners before turning and risk making holes. Not that I ever accidentally do that. Ahem.
Turn and push the corners out with a pointy thing (skewer, knitting needle, lobster claw…). Fold and press the open edges, using the batting as a guide. Use lots of steam to get a nice crisp edge.
Using either a paintbrush or a fine-tip bottle apply a tiny amount of PVA/Elmer’s washable glue all the way along the inside of the open edge, then press with a dry iron to set. This might sound bonkers but it holds the opening together brilliantly for topstitching. I find that pins tend to make things go a bit wibbly. The glue washes out really easily, although to be honest you use such a tiny bit that it wouldn’t matter if it didn’t.
Topstitch along the open edge and quilt however you want. I like to continue the topstitching around the edge and then quilt in a concentric square pattern using the edge of the foot as a guide. I don’t normally bother using my walking foot, mainly because I am too lazy to put it on the machine, and the normal foot is good enough when using fusible batting.
Rinse and repeat to make however many you want. I think a set of six makes a really nice gift, especially in a little drawstring bag like this one made using
Jeni’s fantastic pattern.
I hope everything makes sense – please leave me a comment if anything is confusing. I am new to this malarkey!


Leave a Reply