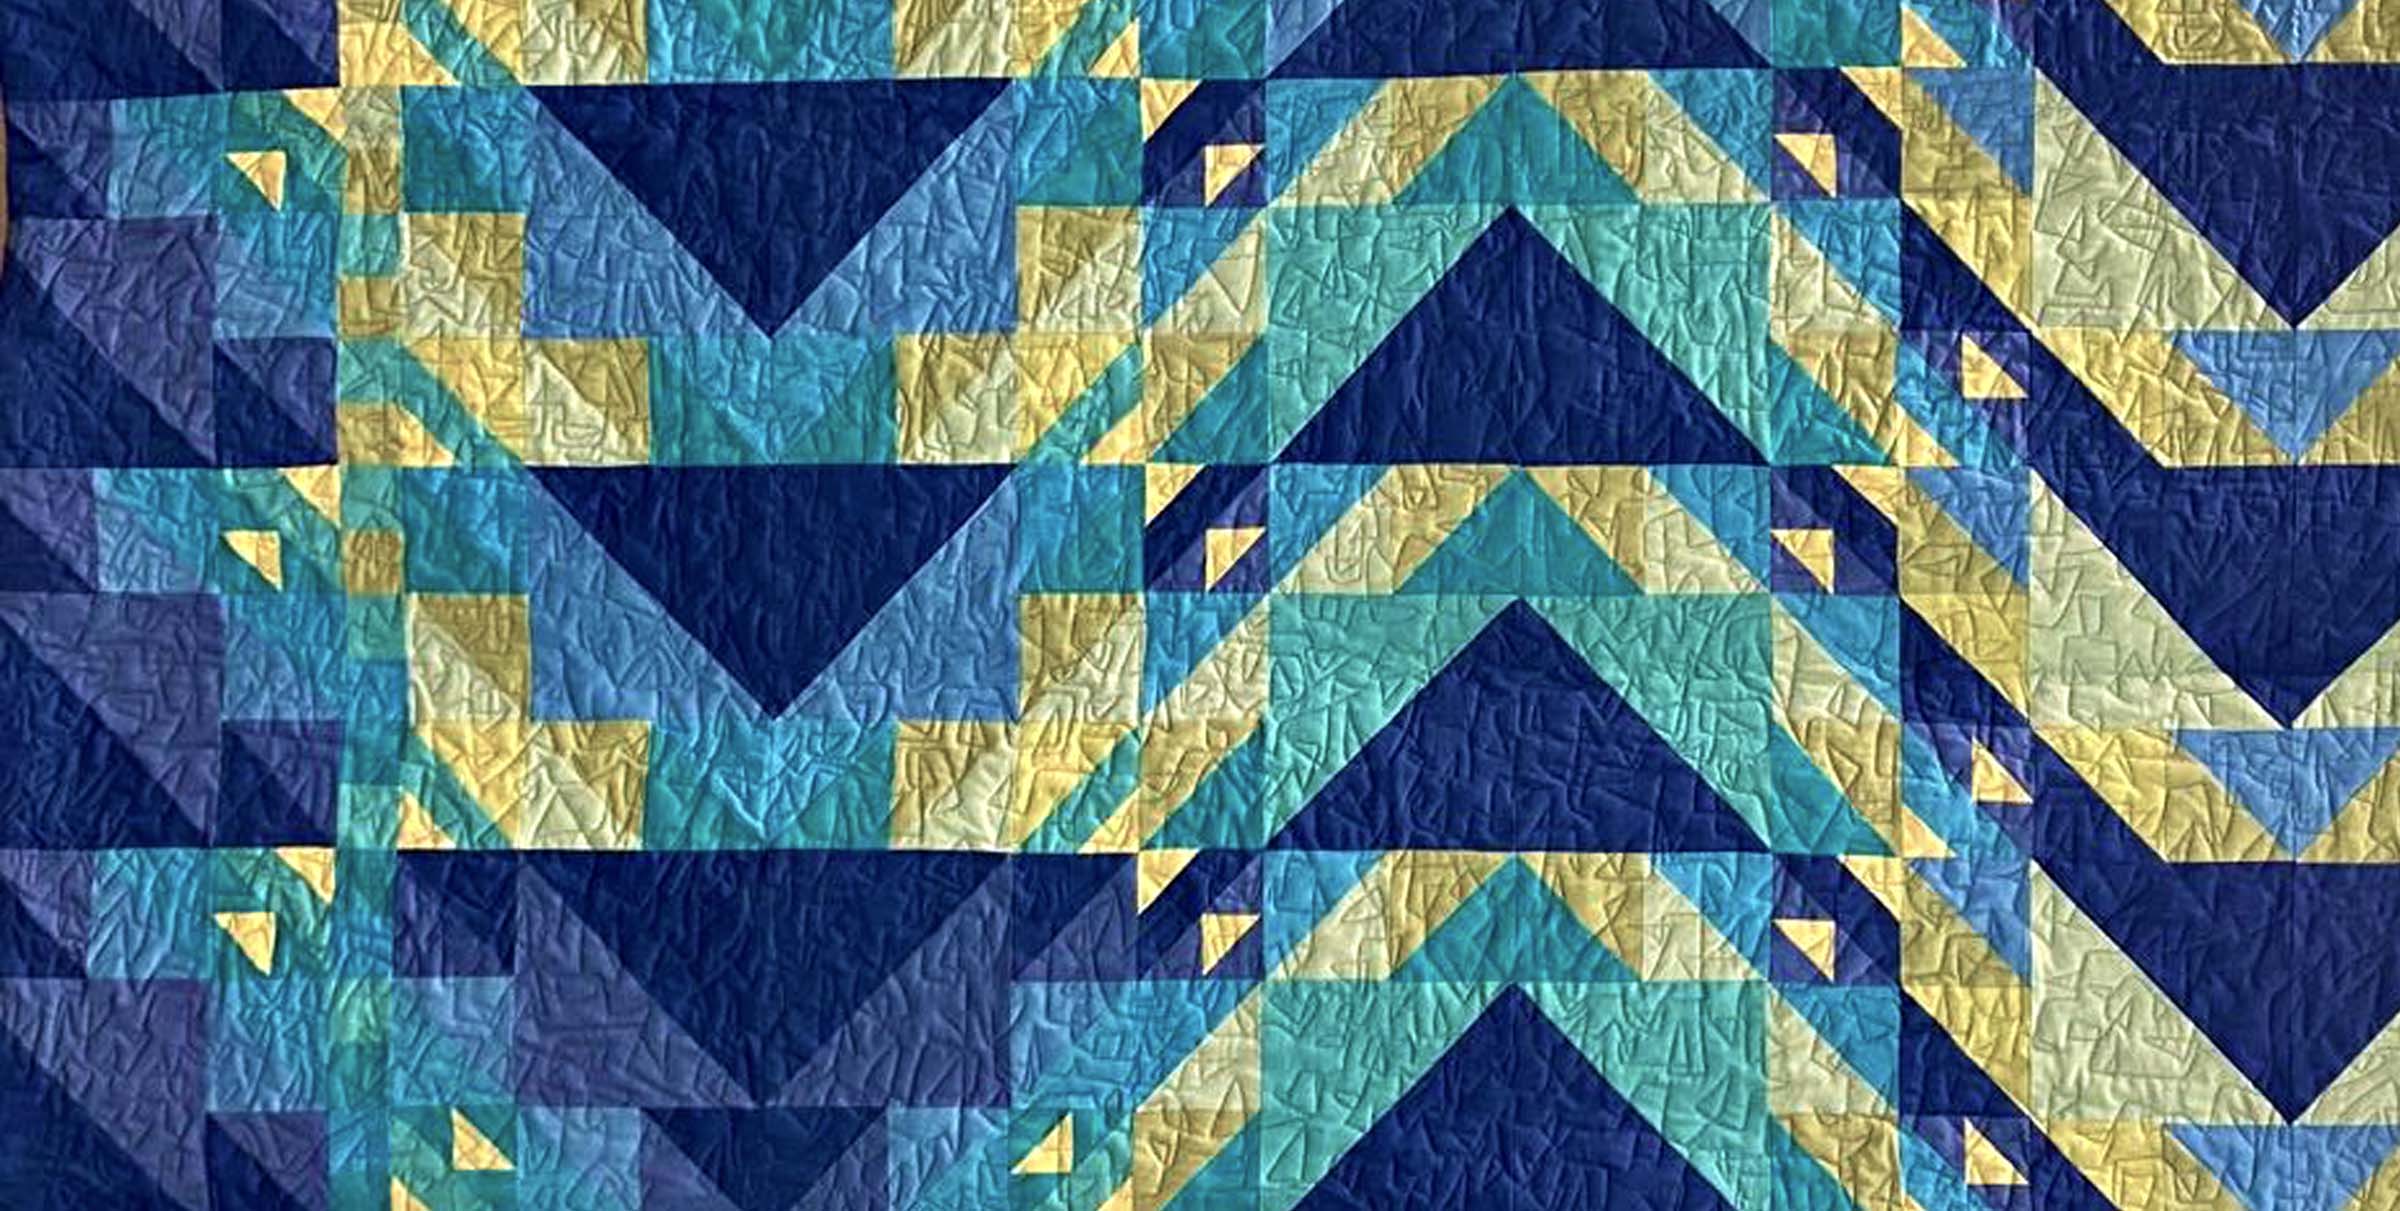
Judith from Needles and Lemons is sharing her tutorial with us for these elegant cushions.

Let’s say you want to make a bordered cushion for a cushion pad of 14″/35 cm then you will end up with a cushion cover of 18″/45 cm. Of course if you wish you can make the border even wider but I think it should always we proportional to the size of the cushion itself and I found these measurements perfect.
Cutting instruction:
1 square 19″ x 19″ linen
1 square 19″ x 21″ linen
1 zip 12 ”
Optional:
1 sq 19″ x 19″ interfacing ( I prefer the woven kine, Vilene G-700)
1 sq 19″ x 21″ interfacing
I like to use Vilene G-700 interfacing as it is woven and gives the fabric both stability while retaining flexibility. If you use a heavier home decor fabric you may not need or want interfacing. Although the linen I use here is fairly heavy it needed a little bit of stability for the oxford border to stand properly.
Step 1: If you are using interfacing then iron it onto the wrong side of the fabric (WOF) of both squares.

Step 2: Then take the larger of the two squares and cut it in half across the width of the fabric giving you two panels of 19″ x 10.5″.
Step 3: Optionally overlock or zickzack stitch the edge before folding it over by about 0.5″. Press to the WOF. Do this for both pieces.

That’s how it looks from the front.

Step 4: Now join both pieces.
Put both pieces right side of fabric (ROF) together. Pin along the length of the fold for about 3 1/4″ from the side edge on either side as demonstrated in the images. Mark the 3 1/4″ point with a needle so you don’t sew over it in the next step.


Step 5: Sew along the pinned seam from the side edge to the marker pin on either side. Secure the end with a few backward stitches. You are left with an opening in the middle into which you are now inserting the zip.
 Step 6: The zip
Take your zip and start pinning it into the opening from the ROF.
Start at one end by inserting the end of the zip through the opening just under the sewn seam. Place the fabric so that the edge of the fabric is level with the teeth. You can actually place the fabric just a smidgen beyond the edge of the teeth towards the other side of the zip.

Do this on both sides. The zip should be completely hidden once it is pinned in place on both sides. The fabric edges should be very close together. In fact they should nudge each other a little bit (see image below). When the cushion is inserted, the fabric will open a little bit and if you pin the zip snug between the two fabric pieces you will keep it well hidden even with the cushion pad inserted.

The inserted zip should look like this from the WOF.

Step 7: Sewing of the zip
Sewing in the zip works best with a zipper foot but you can also use a normal foot. Start in the middle of one side and do a few back stitches to secure the stitch. Sew close along the zipper teeth using the zipper foot as your guide. You can pull the other side of the fabric slightly open if you want to see the zipper while sewing.

Keep sewing until you get to the end and stitch one or two stitches past the opening. Keep needle in the down potion, turn the fabric around, sew a few stitches back and forth and then sew along the other side. When you reach the zipper, pull it out the way so you can sew evenly and easier.

The finished cushion panel should look like in this image:

Step 8: Finish The rest is fairly easy and pretty much the same as with any other cushion.
Open the zip (very important !) Put both cushion panels right sides together and make sure they are still the same size. If not then square them off. Then sew all around with a good 1/4″ seam allowance.

Turn the cushion inside out through the open zip, pull out the corners with your favorite pointy tool (chop sticks, Hera marker are mine). Now press the cushion well and then sew all around with a 3″ seam allowance (or border), insert cushion pad and you are done !
P.S I like a double seam here and go around a second time leaving an 1/8 ” gap between the two seams.
 Back with hidden zipper
One could argue that it would look better if the zipper wasn’t on the horizontal (or vertical) in the middle of the back panel. I did argue that point with myself (!) but ended up putting it in the middle after all. If you are making an oxford border cushion then you are very likely to use the same fabric for both sides and in that case it really doesn’t matter. Besides one can always only look at one side of a cushion. However if you wanted to move the zipper further towards the bottom then that is of course possible and the technique remains the same just the measurements for the back panels change.

Front without zipper
I hope this helps and please let me know if you have any questions or don’t understand something.
Thanks Judith, if you have any questions you can contact Judith here.


Leave a Reply